Showing posts with label projects. Show all posts

Friday, June 10, 2011

Travel jars


These are simply jars with little bits from different places we have been. Close or far from home. My jars are from Michael's, 3 of the 4 sides are plain.


This one is from Fernandina Beach, FL.

Bald Mountain State Park, MI.


Driftwood Beach, Jekyll Island GA.


They currently live on the shelves in our dining room. They have changed a bit since we first moved, so I snapped a quick picture. Here they are right now. Yes someday I will put a picture in that frame.


I do still have a few bags of goodies from the past year that are in need of jars.

Tuesday, May 3, 2011

Wool dryer balls

These wool dryer balls are easy to make and a great alternative to fabric softener. They take just a little wet felting to make and last quite a while. You just need 100% wool yarn, panty hose, a washer and a dryer. Start by wrapping the yarn as tight as you can till your yarn ball is the size of a plum. Once you have done this for as many dryer balls as you want, ( I use about 6 in a load at a time) slide them into the panty hose and tie them tightly between each ball. Wash and dry them in HOT water. When they are dry remove them from the panty hose and wrap another layer of yarn on them. This time till they are the size of a tennis ball. Remember that when you felt it it is going to shrink a bit. Then re wrap them in the hose and wash and dry them again.

Friday, April 22, 2011

Easter eggs


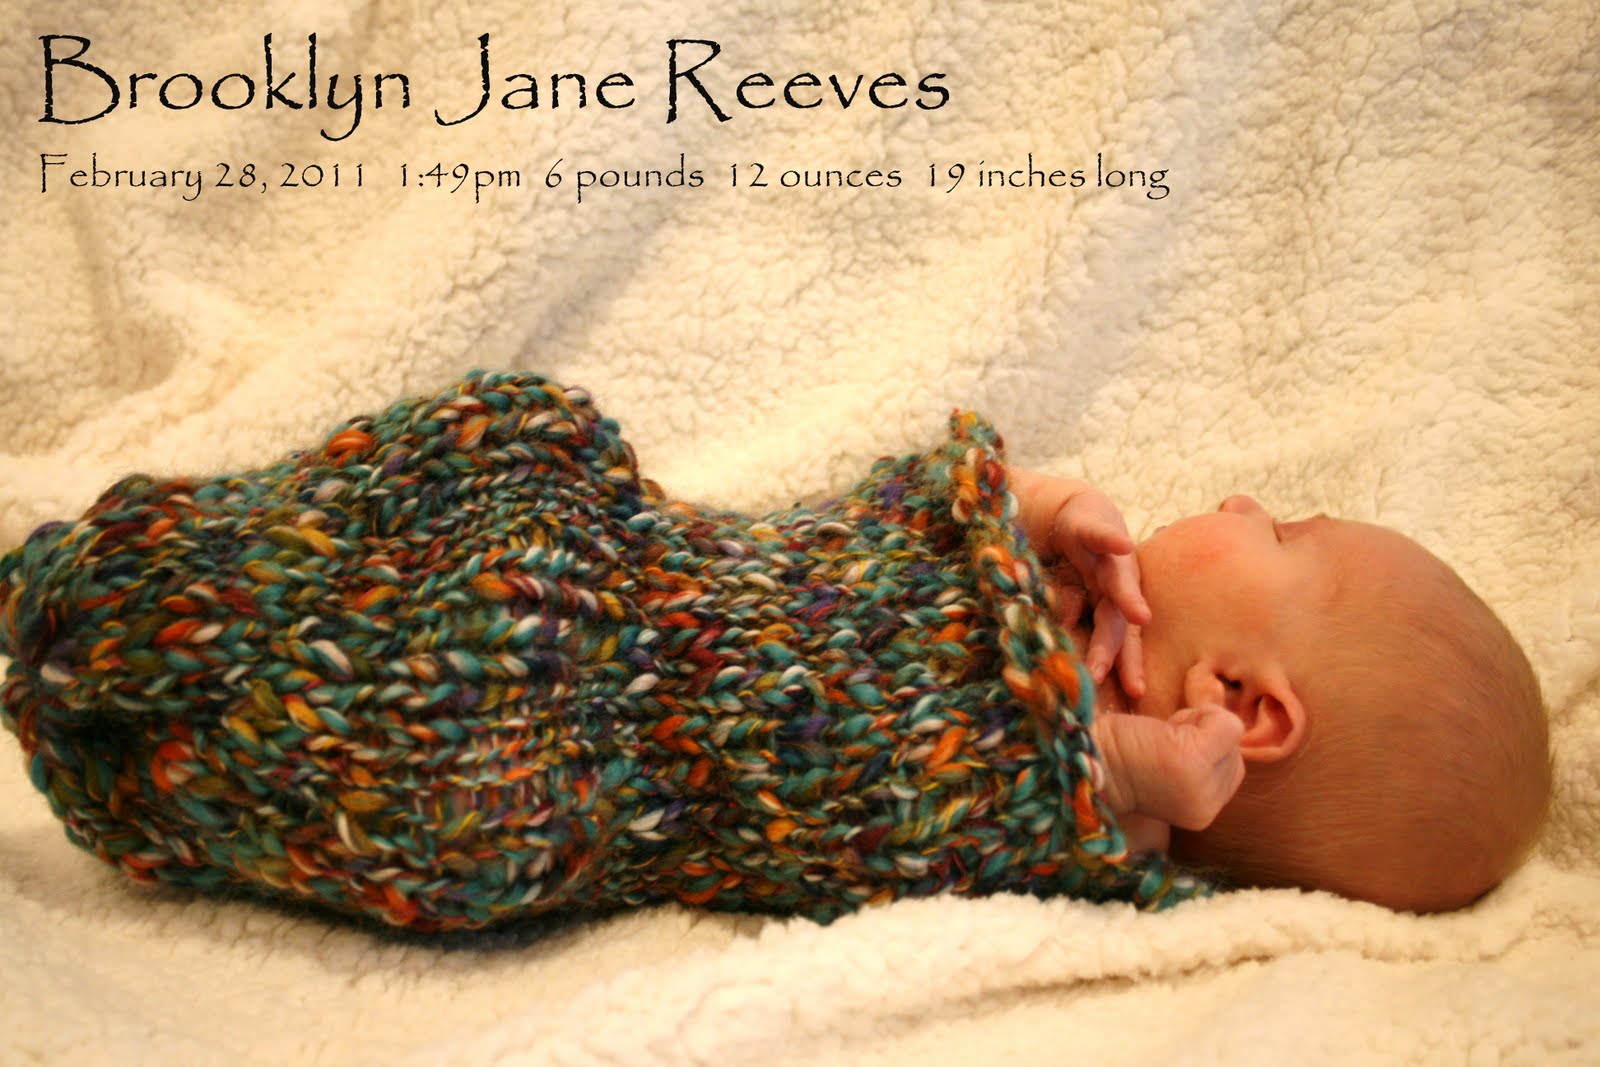
This year I decided to forgo traditional egg dying for something that would last a little longer. I have started to grow my collections of holiday decor now that we have a little one to decorate for. Since Brooklyn is so small she wouldn't miss out on dying eggs anyways.


I blew out the eggs and went to town with colored sharpies. I also decided to make a few into ornaments. I just took a piece of thin twine and strung it threw the egg with a button on the top and bottom to hide the holes.


Thursday, April 21, 2011

How to make fabric garland


Supplies:

1/8 yard fabric

2 1/2 yards twill tape

pins

thread

sewing machine

pinking shears


First choose your fabric.


Cut 3" by 4" rectangles with pinking shears.


Space your rectangles on a your piece of twill tape 3"-4" apart. Mine are spaced every 3". Pin them in place.


Take your garland over to the sewing machine and top stitch your rectangles to the twill tape. Just sew the entire length of the twill tape, there is no need to stop and start sewing on each piece of fabric. I also sewed loops at each end of my garland so I could just loop it over the ends of my curtain rod to hang it.


Hang garland and enjoy.


This is a fun and easy way to decorate for a holiday or everyday. You can also add letters to create message banners as well.

Tuesday, March 22, 2011

Tuesday, February 8, 2011

Projects for baby: part 2

We painted the room an apple green. Then I went back with a projector and projected the image of these leaves on the wall and painted them. They turned out great, it took 2 coats of paint but it was well worth the time it took.


I also sewed the curtains for the room. I hate how much curtains cost. Also baby room curtains are too kid for me. I wanted something neutral that could stay in the room for a long time as the kid grows or the room becomes something else.
The valence is made of a brown ticking stripe and the drape/sheers are made of a natural colored muslin.


I searched for a very long time for a small book shelf for the room that didn't have sharp edges or that was too big. I knew I was going to have to make something I just didn't know what it was for a long time. I finally settled on baskets. I had one and only had to buy 3 more. I just zip tied them together on the inside and back in a couple of places and it is more than sturdy enough to hold books and toys.
It's also great that it is completely reversible when it is no longer needed as a book shelf.


(after)

Saturday, February 5, 2011

Projects for baby: part 1

I found this side board at Salvation Army, it just needed a good cleaning and some new knobs. The top was also badly scratched and some of the finish was missing. So I decided to paint the top black.


(before)

(before)


(after)


(after)


I already had this cute bird lamp that would go perfectly in the baby's jungle room but the shade was damaged when we moved to Florida. So I had to find a new one...

(before)


A little ribbon and hot glue transform the plain shade to a fun colorful shade.

(after)


(after)


There are still more projects for baby to come....


Saturday, April 3, 2010

Easter projects

Tomorrow is Easter, here are a few cute things you can make.
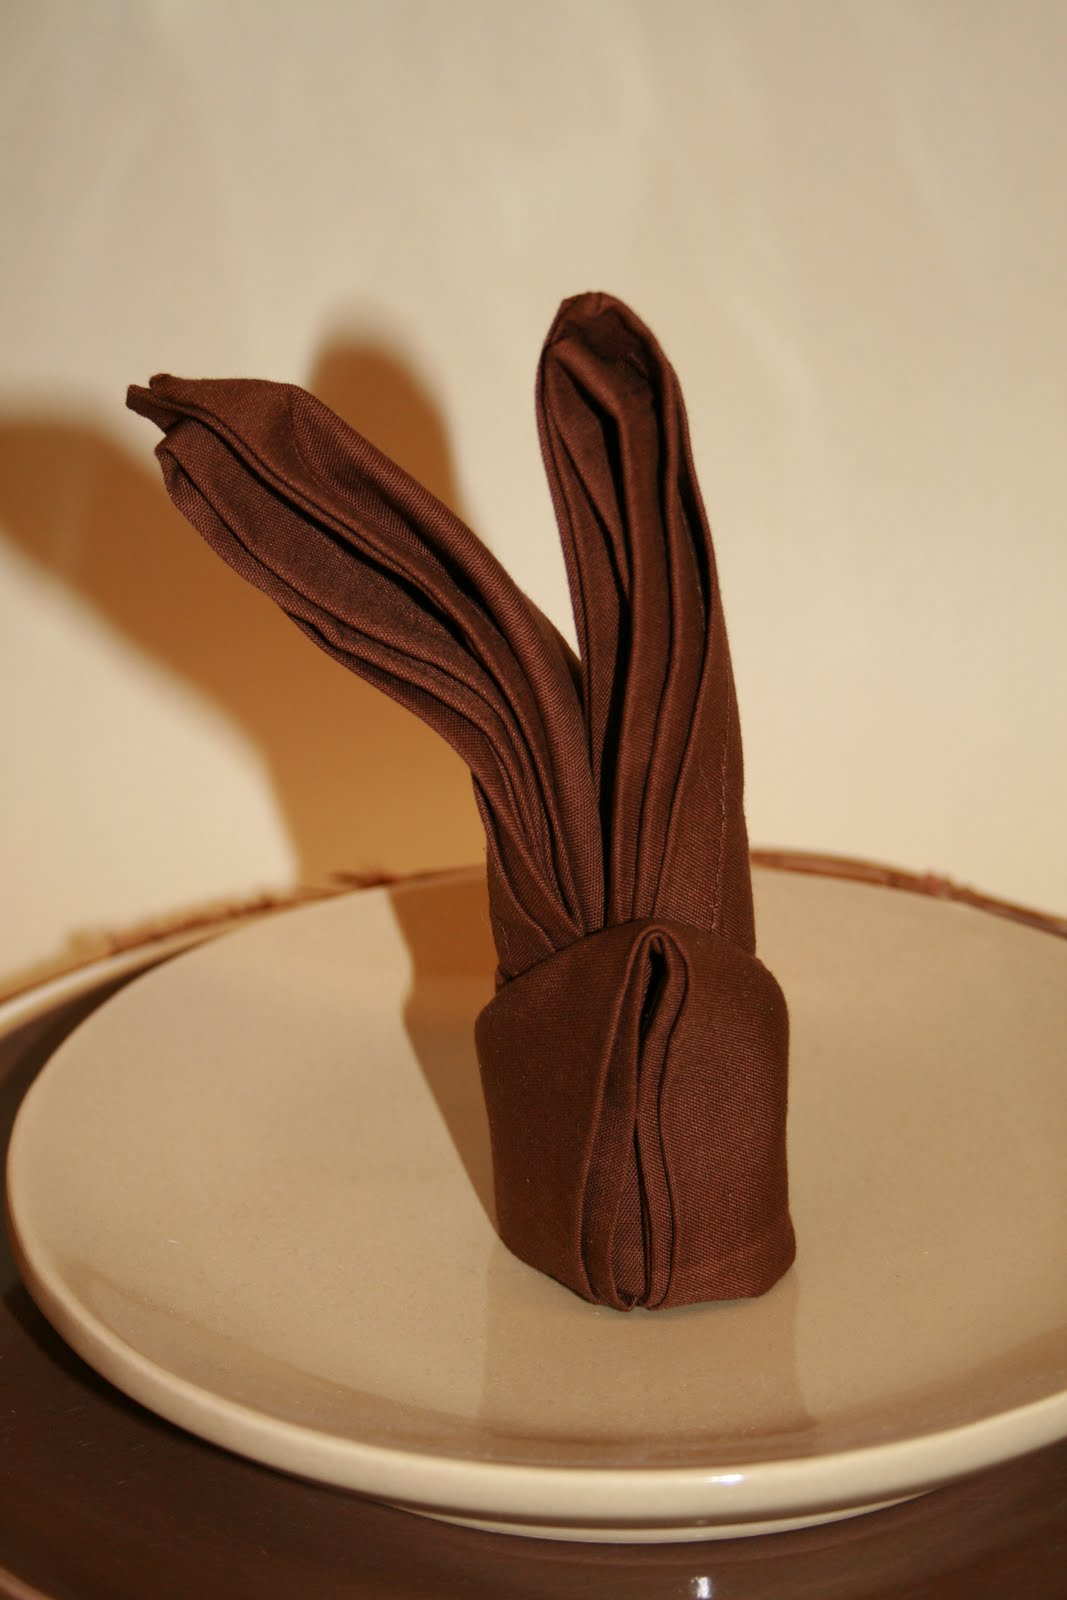
Fold your napkins into bunnies, you can find step by step instructions here.


Can you tell its a bunny?
Or you can make these really cute bunny finger puppets over at The Purl Bee.
There is a complete tutorial over there with printable pattern too.


I made these three guys out of some scrap wool felt I had around. They have button eyes and felt ball tails. I think they turned out well and would make a nice stuffer for an Easter basket or even a decoration.


Here they are in the wild.


Wednesday, March 31, 2010

I started my seeds...

I made plant markers from wooden spoons.


I also got all my seeds from Erica. You can read about how we are sharing seeds here.
She sent me, green towers lettuce, california wonder pepper, sugar ann snap pea, cherokee purple tomato, kakai hullless pumpkin, and matt's wild cherry tomato.

There is my helper Cali.


Notice the two lizards on the wall.

The set up is a bit ghetto, but it will do until we move and get settled in our own home.

Grow little seeds.

Cox & Cox

Or if you are fancy you can buy this from Cox & Cox here.

I not going to lie, I want one.

Sunday, March 28, 2010